
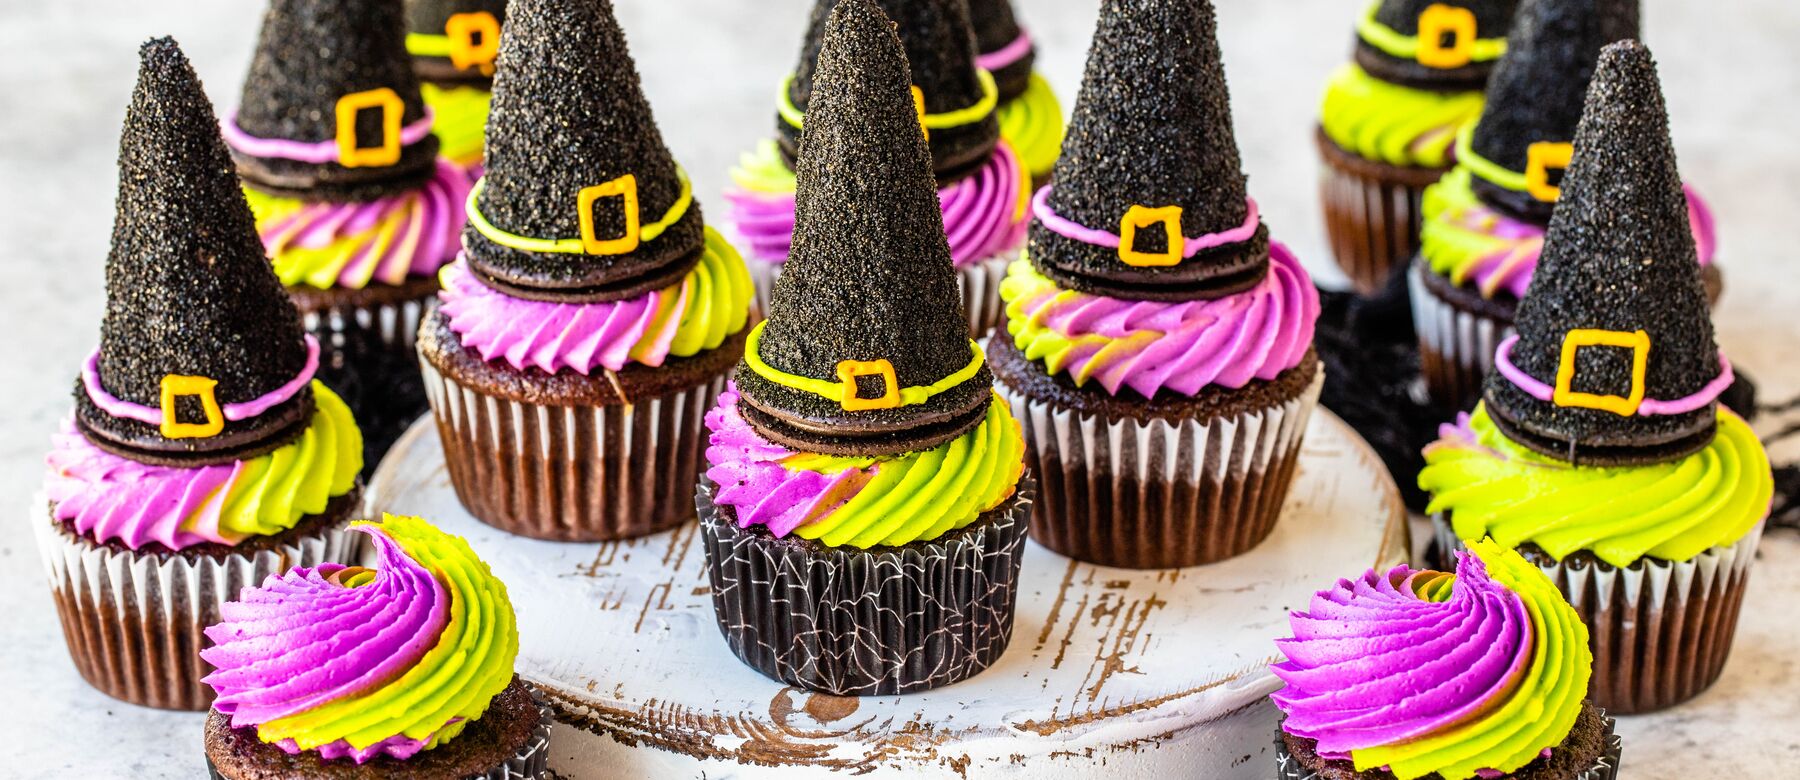

Witch Hat Cupcakes
Categories:
Ingredients
Caramel Sauce
1/2 cup (100 grams) Domino® Granulated Sugar Easy Baking Tub
- 1/4 cup (60 ml) Heavy cream
- 3 tbsp (42 grams) Unsalted butter
- 1/2 tsp Salt
Chocolate Cupcakes
1 cup (127 grams) all-purpose flour
- 1 cup (200 grams) Domino® Granulated Sugar Easy Baking Tub
- 1/2 cup (33 grams) Unsweetened cocoa powder
- 1 tsp Baking powder
- 1/2 tsp Baking soda
- 1/4 tsp Salt
- 1 Large egg
- 1/2 cup (120 ml) milk
- 1/3 cup (80 ml) Vegetable oil
- 1 tsp Vanilla extract
- 1/2 cup (120 ml) Brewed coffee (or hot water)
Buttercream frosting
1 1/4 cup (282 grams) Unsalted butter, softened
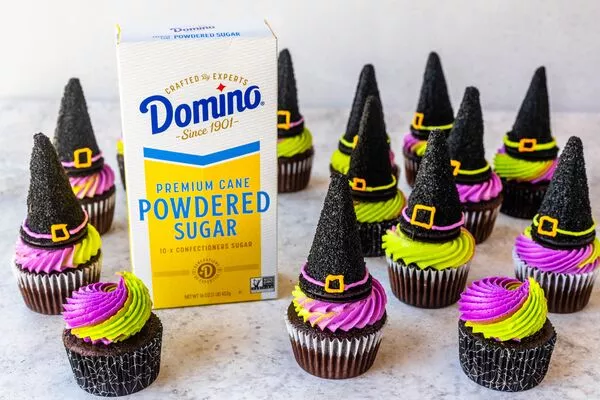
- 4 1/2 cups (562 grams) Domino® powdered sugar
- 1/4 cup (60ml) Heavy cream, or milk
- 2 tsp Vanilla extract
- One drop yellow food coloring
- A few drops Purple food coloring
- A few drops Green food coloring
Witch Hats
2 1/2 cups (425 grams) Chocolate or black candy melts
- 1 cup (200 grams) Black sanding sprinkles
- 14 Round chocolate cookies
- 14 Mini ice cream cones
Rate Recipe

Instructions
Bake Mode
Prevent your screen from going dark as you follow along.
Prep Time : 40 minutes / Cook Time : 20 minutes / Yields: 14 cupcakes
Caramel Sauce
Step 1
Place Granulated Sugar Easy Baking Tub in a small saucepan over medium heat. Stir constantly with a spatula to ensure the sugar is melting evenly.
Step 2
Once the sugar has melted entirely and it’s a light amber color, reduce the heat to medium-low and add the heavy cream. Stir until the bubbles subside.
Step 3
Add the butter and mix until it melts. As soon as the butter melts, remove the pan from the heat. Add the salt then stir. Then pour the caramel in a small bowl and let it cool down completely at room temperature.
Chocolate Cupcakes
Step 1
Pre-heat the oven to 350ºF and line 14 cupcake tins with paper liners. Sift the flour, sugar, cocoa powder, baking powder, baking soda, and salt together. In another bowl, or in a measuring cup, mix together the egg, milk, oil, and vanilla extract.
Step 2
Pour the wet ingredients over the sifted dry ingredients and whisk until combined
Step 3
Add the hot coffee or hot water and whisk until the mixture is smooth. The batter will be very runny, and that’s ok.
Step 4
Fill each cupcake tin about halfway full of batter, and bake in the pre-heated oven for about 18 minutes. Remove if you can touch the surface of the cupcake and it springs right back, or a toothpick inserted into the cupcake comes out clean.
Buttercream frosting
Step 1
Beat the butter with an electric mixer for 3 minutes on medium-high speed then turn the mixer off.
Step 2
Sift the powdered sugar and add it to the bowl along with the butter. Turn the mixer on a low speed. Slowly add in the heavy cream or milk, and vanilla to the bowl. Raise the speed of the mixer to medium-high and beat the ingredients together for 1 minute, scraping in between, until fluffy and creamy.
Step 3
Remove about 1/3 cup of frosting and set aside. Divide the rest of the frosting between two different bowls. Take the 1/3 cup of frosting and add the yellow food coloring, then mix to combine. Place the frosting in a piping bag fitted with a number 1 round tip.
Step 4
Take 1/2 of the remaining frosting and add the purple food coloring, mix to combine. Place the frosting in a piping bag fitted with a number 3 tip. Take the other half and add the green food coloring and mix to combine. Place the frosting in a piping bag fitted with a number 3 tip.
Witch Hats
Step 1
Place the sanding sprinkles in a shallow bowl and set aside. Place the chocolate or candy melts in a shallow bowl then microwave for 15 second intervals, stirring in between, until completely melted.
Step 2
Dip the top of the chocolate cookies in the melted chocolate and place on top of a baking sheet.
Step 3
Take two fingers and insert inside the ice cream cone to hold it. Then roll the sides of the cone around in the melted chocolate, coating it completely. Lightly scrape off the sides of the cone to drip off the excess.
Step 4
Immediately roll the cone in the sanding sprinkles to coat it completely. Then place the cone on top of a cookie dipped in the chocolate, so the cone sticks to the cookie. Grab a spoonful of sprinkles and sprinkle it over the sides of the cookie to coat the sides of the witch’s hat.
Step 5
After doing this to every 14 cones, place them in the fridge for 10 minutes to harden up.
Step 6
Text: Use the green or purple frostings in the piping bag lined with the number 3 tip, and go around the bottom of the hats, drawing a line to decorate the witch’s hat. Then using the yellow make a square in the front of the hat on top of the purple or green line.
Assemble and decorate the cupcakes
Step 1
Lay out a piece of plastic wrap on the counter. Remove the number 3 piping tip and spread out the remaining green and purple frosting next to each other on top of the plastic wrap.
Step 2
Roll the plastic wrap onto itself to form a log. Then place the log of frosting inside of a piping bag lined with the tip of choice (6b is used in photos).
Step 3
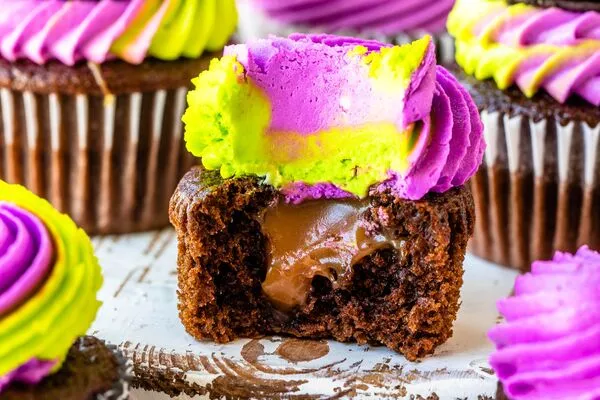
Use an apple corer or a spoon to remove the center of each cupcake. Spoon or pipe a bit of the cooled caramel sauce inside each cupcake.
Step 4
Frost the cupcakes with the bicolor frosting, and immediately place a decorated hat on top. Place the cupcakes in the fridge for a few hours or overnight before serving.
Additional Tips:
- Stir in heavy cream slowly for caramel sauce or the mixture will bubble up and splash.
- You can add 1 tsp of vanilla extract to the caramel along with the salt for extra flavoring
- Don’t overcook the caramel or it will be too hard once it cools down. The perfect butter temperature to use to make frosting is 72 Fahrenheit. If the butter is too soft, the frosting might be too runny.
- For the buttercream frosting make sure the butter isn’t too soft.
- If the buttercream frosting is too stiff, add another teaspoon of heavy cream or milk at a time until it comes together. If the frosting is too runny, add a bit more sifted powdered sugar until it comes together nicely.
- For the witch hats, it’s best to work with a few at a time, so the chocolate doesn’t dry before you get to the next step.
- You can use hot water instead of the brewed coffee. You can also add 1 tsp of espresso powder to the dry ingredients when mixing them together, if desired.
Rate Recipe


Deliciousness Delivered to You
Join our E-newsletter community and you’ll be among the first to receive the latest special offers, recipes, tips and more. Join us!