


DIY Cookie Cutter
Categories: Arts & Crafts | Cookies, Brownies & Bars | Everyday Baking
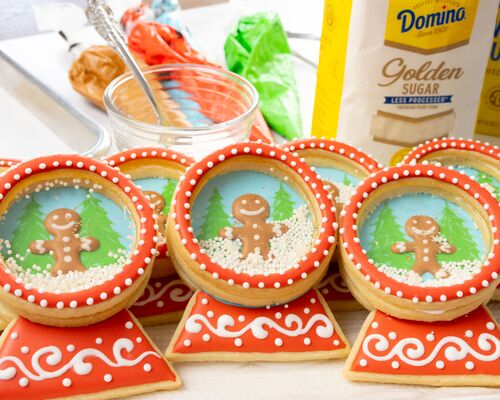
Domino® Sugar is perfect for homemade treats, and DIY cookie cutters make your baking even sweeter! Making your own cookie cutters lets you get creative with your baking without spending the extra money and time—not to mention saving you the struggle of hunting at the store. From unique, custom designs to traditional shapes, this DIY project is as fun as it is delicious. Here’s what you’ll need:
Supplies
- Aluminum oven liners Scissors
- Cut-resistant gloves {very important}
- Permanent marker
- Pencil
- X-ACTO knife
- 4-inch template made from foam board (buy the pre-measured type and cut along the lines)
- Yardstick
- Clothespins
- Super glue
- Printer paper
Instructions
- Put on your safety gloves. This step is extremely important because you will be working with aluminum that can be very sharp.
- After you put on your gloves, carefully cut the edges around the aluminum liner.
- Use your foam board template like a ruler to mark off a four-inch section on the aluminum.
- With your yardstick, measure the midpoint of the section and draw a line with a permanent marker down the center. You should have two 2-inch sections.
- Cut along the furthest line from the center. You’ll want to use the middle line you created as a reference point later on. After you cut the 4-inch section, fold the strip in half along the middle line. Unfold your section then fold the left side to meet the center. Repeat on the right side.
- Fold it in half one more time. (This will make the aluminum more flexible.)
- Print out or draw your design on a piece of paper. This is your chance to get super creative!
- Start shaping your aluminum piece around your design until you’ve reached your desired shape. Snip off any excess, then use a hot glue gun or stapler to hold your cookie cutter into place.

Deliciousness Delivered to You
Join our E-newsletter community and you’ll be among the first to receive the latest special offers, recipes, tips and more. Join us!